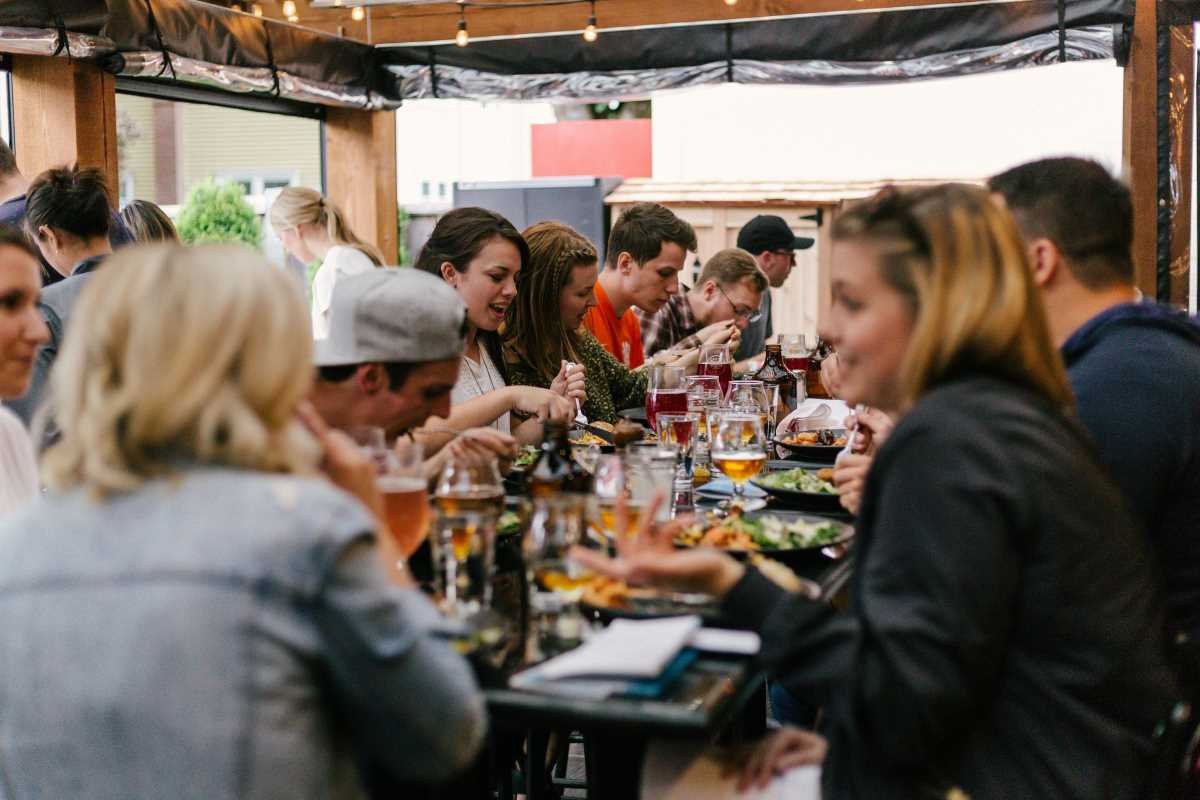
If you’ve ever scrolled through Instagram or Pinterest, you’ve likely come across stunning food photos that make you want to reach through the screen and take a bite. Well, what if I told you that you don’t need to be a professional photographer to capture beautiful food photos? You can totally do it yourself with just a few simple tips and tricks.
Food photography may sound like a skill reserved for professional chefs or social media influencers, but the truth is that anyone can learn how to make their meals look mouth-wateringly good. Whether you're a busy parent trying to share a recipe on social media or just want to capture your delicious dinner for your personal memories, food photography can be a fun and rewarding hobby.
In this article, I’m going to walk you through some easy-to-follow tips for beginners that will help make your food photos pop. I’ll cover everything from lighting and composition to styling and editing, so you can take great photos without the need for fancy equipment or spending hours on the process.
1. Lighting is Everything
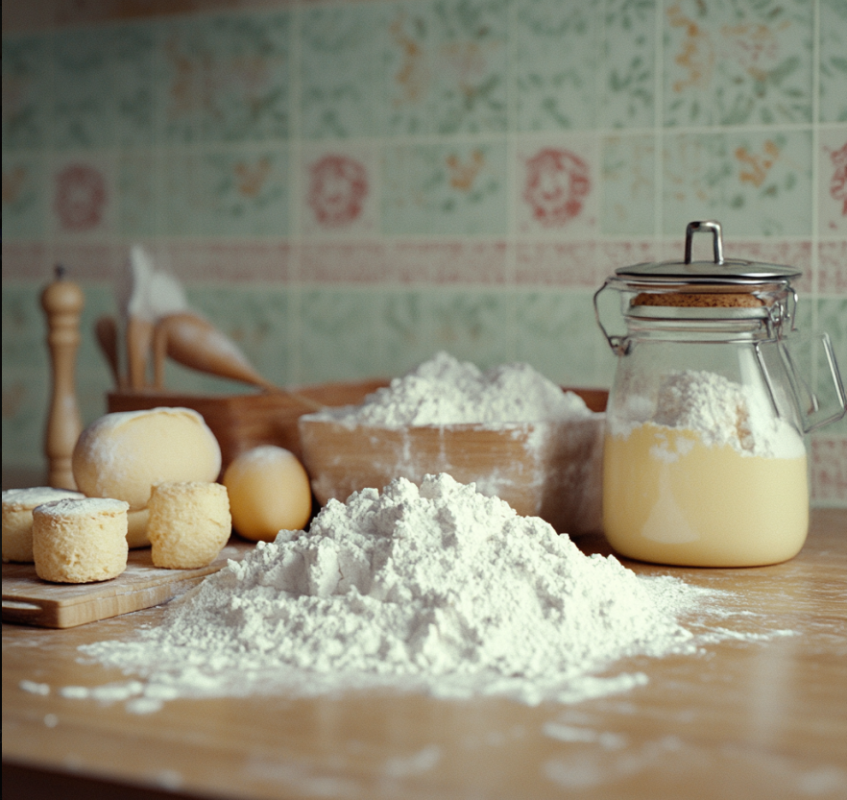
If there’s one thing that makes or breaks a food photo, it’s lighting. Natural light is your best friend when it comes to food photography, as it creates soft, even lighting that brings out the best in your dishes. Here’s the trick: try to avoid harsh, artificial lighting like the kind that comes from overhead kitchen lights. Instead, position your food near a window where you can get plenty of natural light.
Tips for Working with Natural Light:
- Use Soft, Indirect Light: Direct sunlight can create harsh shadows and make your food look too bright or overexposed. Instead, look for a spot with soft, diffused light—like near a window with a sheer curtain.
- Time of Day Matters: Early morning or late afternoon is usually when the light is the softest and most flattering. If you’re shooting indoors and don’t have much natural light, you can also try placing your food near a door or a large window to maximize the available light.
- Avoid Flash: Flash photography can make food look unappetizing by creating harsh reflections and deep shadows. Stick with natural light as much as possible for the best results.
2. Composition: The Art of Framing Your Shot
Now that you have the lighting down, it’s time to think about how you frame your photo. Composition refers to how everything in your image is arranged—this is what helps tell the story of your food and makes the photo visually interesting.
Basic Composition Tips:
- The Rule of Thirds: This simple rule helps create balanced, visually appealing photos. Imagine your photo divided into three equal parts both horizontally and vertically, like a tic-tac-toe grid. Position your main subject (the food) along these lines or at their intersections for a more dynamic shot.
- Consider the Background: Keep your background simple and uncluttered so that the focus remains on the food. Neutral tones or a clean kitchen countertop can help bring out the colors of the food without distracting from it.
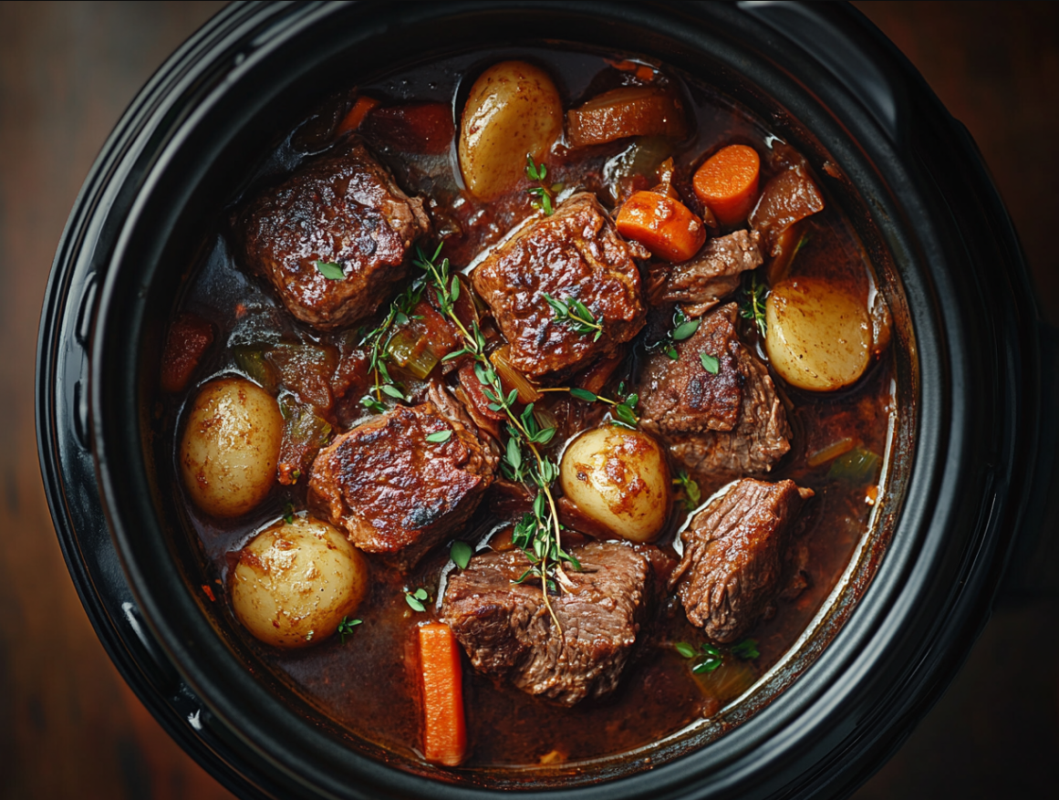
- Play with Angles: Different types of food look better from different angles. For example, a stacked sandwich or burger looks great from the side, while a salad or bowl of pasta looks better from above. Experiment with different angles to see what works best for your dish.
- Leave Space: Don’t overcrowd your frame. Leaving some space around the food will make the photo feel more spacious and allow the food to shine.
3. Use Props to Enhance the Story
Adding props can make your food photos feel more personal and visually interesting. A simple plate and fork might do the job, but if you want to take your photos to the next level, consider adding a few extra touches to give your photo personality.
Props to Consider:
- Plates, Bowls, and Glasses: Choose props that complement the colors and style of your dish. A white plate will help bright-colored foods pop, while rustic, wooden bowls are perfect for cozy, homey meals.
- Utensils: A fork, spoon, or knife can add interest to your photos and give the viewer something to focus on besides just the food. For example, place a fork next to a plate of pasta or a spoon beside a bowl of soup to add a little dimension.
- Textiles: Tablecloths, napkins, or even dish towels can add texture and color to the background of your photo. A textured cloth can help make your photo feel more inviting, especially for casual meals like brunch or snacks.
4. Food Styling: Make It Look Delicious
One of the most important parts of food photography is food styling—this is all about making your meal look as appetizing as possible in your photo. It’s tempting to just snap a shot as soon as your meal is ready, but a little extra effort in styling your food can make a huge difference.
Tips for Styling Your Food:
- Keep It Fresh: If you’re photographing a dish like a salad, try to arrange the ingredients so they look fresh and vibrant. If your greens are wilting or your toppings are soggy, your photo might not look as appetizing.
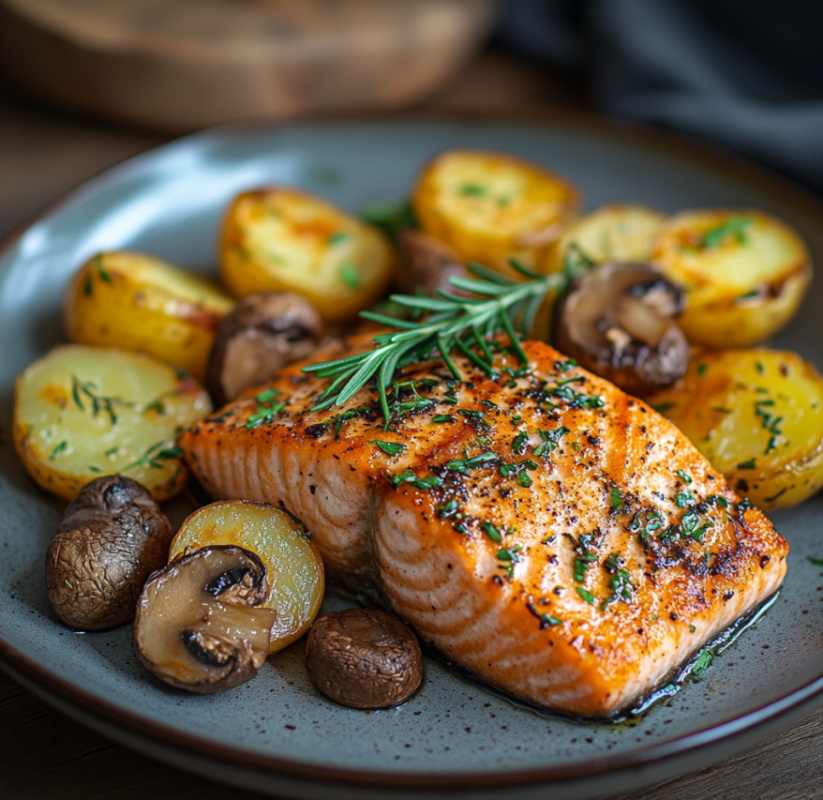
- Add a Finishing Touch: Little details, like a sprinkle of fresh herbs, a drizzle of sauce, or a sprinkle of cheese, can take your food from “meh” to “wow.” These touches make the food look more appetizing and help enhance its visual appeal.
- Avoid Overcrowding: Too many ingredients or garnishes can overwhelm the photo. Instead, keep the focus on the main dish by arranging a few simple garnishes or additions.
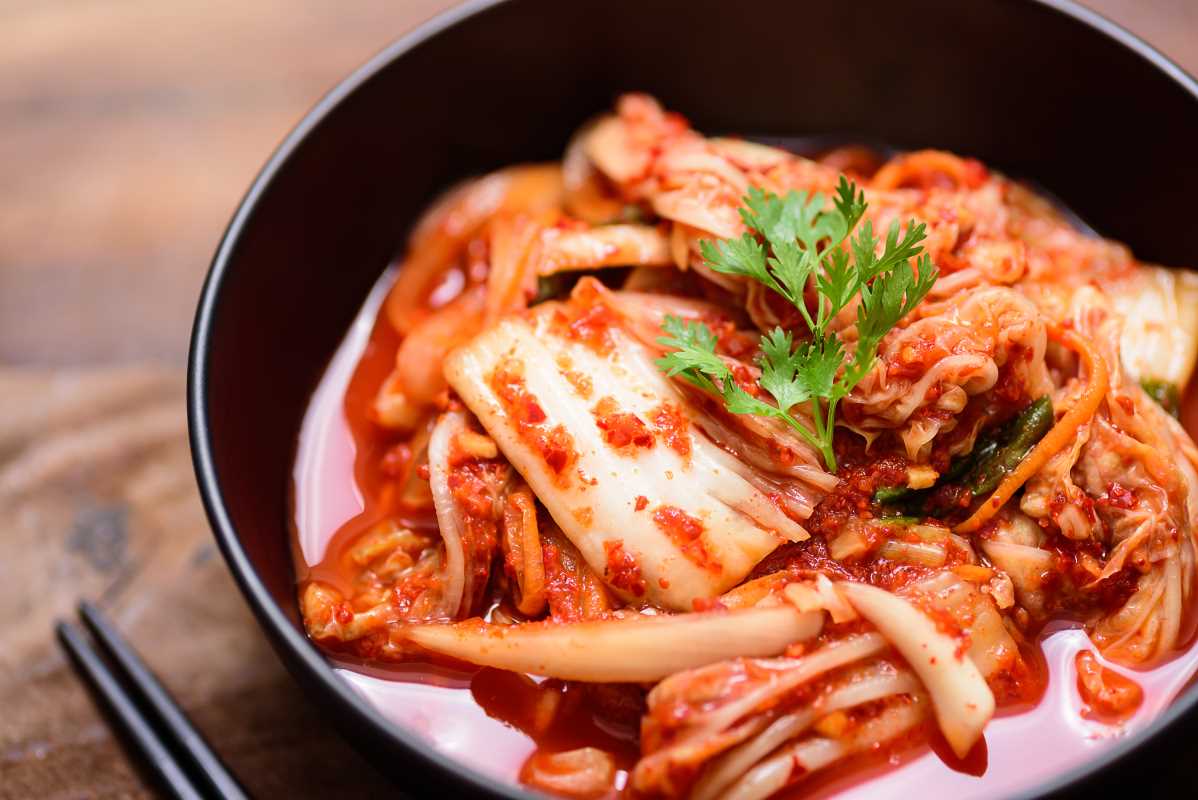
- Think About Color: Vibrant colors make food look more appealing, so try to add contrasting colors to your dish. A dash of green parsley on top of a warm, golden pasta can make the photo pop.
5. Editing Your Photos
Even with the best lighting and styling, some photos can still benefit from a little editing. Don’t worry; editing doesn’t mean you have to be a Photoshop expert. With simple tools on your phone or computer, you can make your photos look more polished and professional.
Basic Editing Tips:
- Adjust Brightness and Contrast: If your photo looks too dark or too bright, adjusting the brightness and contrast can help balance things out.
- Crop for Composition: If you didn’t get the perfect angle or framing in your original shot, you can crop the photo to better highlight the food or to fit the rule of thirds.
- Enhance the Colors: Boosting the vibrancy or saturation of the colors in your photo can help make your food look more appetizing and lively. Just be careful not to overdo it—too much saturation can make your photo look unnatural.
There are plenty of free apps like Snapseed or Lightroom that are beginner-friendly and can help you enhance your photos quickly and easily.
.jpg)
