There’s something magical about the smell of freshly baked bread wafting through your kitchen. It’s warm, nostalgic, and strangely calming. For many of us working parents, baking bread might sound like an intimidating or time-consuming hobby, but hear me out. Baking bread at home is not only doable, but it’s also incredibly rewarding. You don’t need to be a pro baker or have expensive tools to pull this off. With a few simple ingredients, some patience, and a little know-how, you can create something delicious that your whole family will love. Trust me, there is nothing quite like slicing into a loaf of artisan bread that you made with your own hands.
If you’ve been curious about baking your own bread but didn’t know where to start, I’ve got you covered. This guide is packed with tips, recipes, and beginner-friendly advice to make your first bread-baking adventure a success.
Why Bake Bread at Home?
Baking bread may feel like added effort when you can just grab a loaf at the grocery store, but here’s why it’s worth trying:
- It’s Fresher and Healthier: Store-bought bread can be loaded with preservatives, added sugars, and unnecessary ingredients. When you bake bread yourself, you control exactly what goes into it.
- It Saves Money: Bread baking is surprisingly affordable. With flour, salt, sugar, yeast, and water (basically pantry staples), you can make a loaf for just pennies compared to store-bought options.
- It’s Creative and Fun: Baking bread feels like an art project for your kitchen. You can experiment with different flours, shapes, and add-ins, like herbs or cheeses, to make it your own.
- Kids Love It: If you have little ones, bread baking can be a fun family activity. Kneading dough is like Play-Doh but with edible results!
Now that you know why it’s worth trying, let’s break down the process step-by-step.
Even if you’ve never baked before, don’t worry! Bread only needs a few key ingredients. Here’s what you need to know:
The Four Key Ingredients
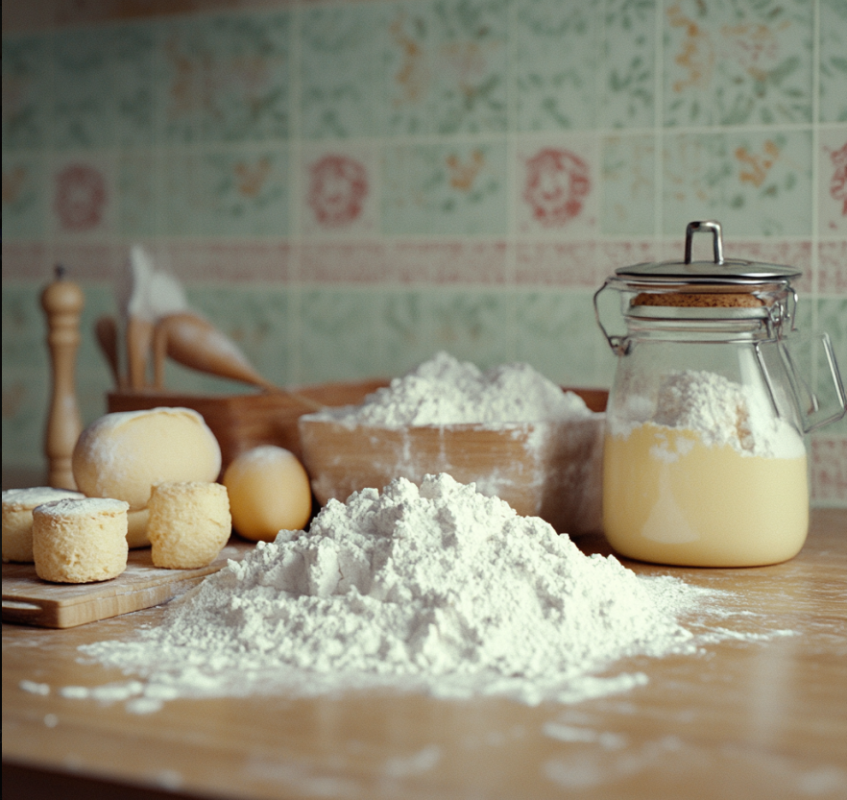
- Flour: Flour provides the structure. All-purpose flour works great for beginners, but bread flour is even better for a fluffier, chewier texture. Whole wheat flour adds a nutty flavor but can be a little heavier, so feel free to mix it with white flour.
- Yeast: Yeast is what makes your bread rise. Active dry yeast and instant yeast are the easiest options for beginners. Instant yeast doesn’t need to be dissolved in water beforehand, which can save a step.
- Water: Water hydrates the flour and activates the yeast. Make sure it’s lukewarm (around 110°F) to help the yeast do its thing.
- Salt: Salt adds flavor but also helps control the yeast, ensuring your dough rises properly.
And that’s it! At its core, bread-making is just a science experiment that turns four basic ingredients into something magical.
Optional Ingredients
Want to get fancy? You can add things like butter, olive oil, honey, sugar, or even garlic and herbs for extra flavor.
Tools You’ll Need
Don’t worry; you don’t need anything fancy to get started. Here’s a basic list of tools that’ll make your bread-baking life easier:
- Mixing bowl (big enough for your dough to rise)
- Measuring cups and spoons
- A wooden spoon or spatula
- Clean dish towel or plastic wrap (to cover your dough)
- Baking sheet or loaf pan
- Parchment paper (optional but helpful for non-stick baking)
If you want to get serious about bread baking later on, you might invest in a stand mixer or a Dutch oven, but they’re not necessary for beginners.
Step-by-Step Guide to Baking Bread
Here's a simple process for making a classic white loaf:
Step 1: Mix the Dough
Combine 3 ¾ cups of all-purpose flour, 1 ½ teaspoons of salt, 2 teaspoons of sugar, 2 ¼ teaspoons (or one packet) of instant yeast, and 1 ½ cups of warm water in a large bowl. Use a wooden spoon to mix until it starts to come together.
Step 2: Knead the Dough
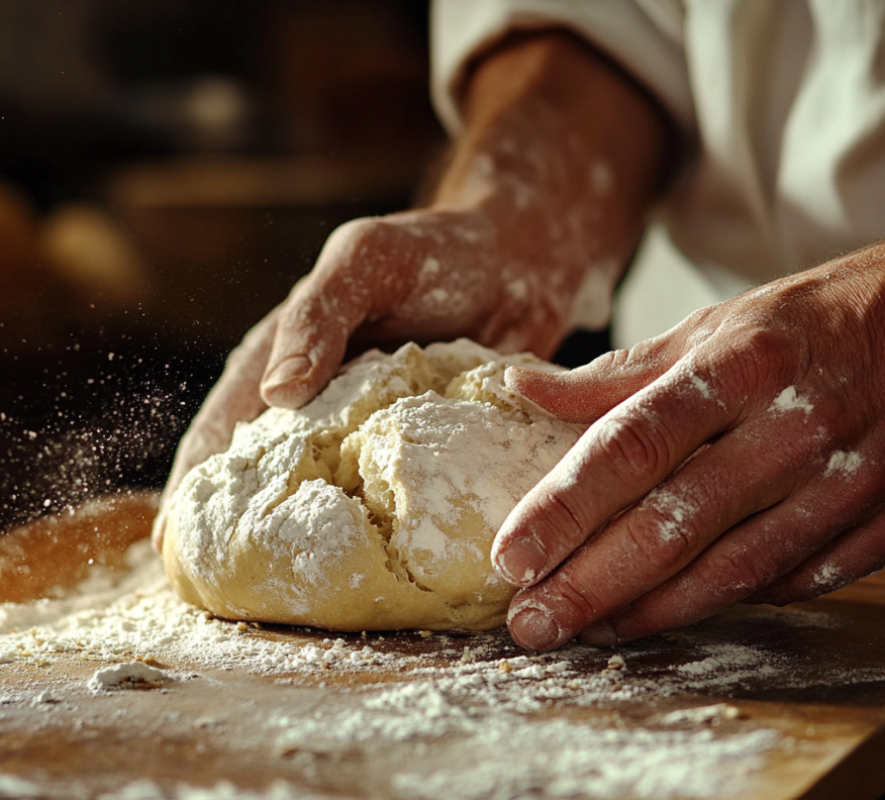
Turn the dough out onto a clean, floured surface. Knead it with your hands for about 8-10 minutes. It should feel smooth and slightly tacky, not sticky. If it’s too sticky, sprinkle on a little more flour.
Kneading tip: Press the dough with the heel of your hand, fold it in half, and rotate. Repeat this motion rhythmically.
Step 3: First Rise
Place the dough in a greased bowl and cover it with a clean dish towel or plastic wrap. Leave it in a warm spot for about 1-2 hours, or until it doubles in size.
Step 4: Shape the Dough
Once risen, punch down the dough to release air bubbles, then shape it into a loaf or whatever style you prefer. Place it on a parchment-lined baking sheet or in a greased loaf pan.
Step 5: Second Rise
Cover the shaped dough and let it rise again for about 30-40 minutes until it puffs up slightly.
Step 6: Bake
Preheat your oven to 375°F. Bake your bread for 25-30 minutes, or until the top is golden brown and it sounds hollow when tapped. Cool it on a wire rack before slicing in (if you can wait that long!).
Congratulations, you’ve just baked your first loaf of bread!
Tips for Busy Parents
Because life is hectic, here are some hacks to make bread baking more manageable:
- Start with No-Knead Bread: If kneading feels overwhelming, no-knead bread is perfect for busy families. Mix the dough, leave it to rise overnight, and bake it the next day. Google “no-knead bread Dutch oven” for an easy recipe.
- Use a Bread Machine: If you have one, a bread machine can do all the work for you. Simply add your ingredients, push a button, and come back to a freshly baked loaf.
- Bake in Bulk: Make extra loaves and freeze them. Fresh bread freezes wonderfully. Just slice it ahead of time so you can pull out individual portions as needed.
- Schedule It: Pick a day when you have a little extra time (like Sunday), and turn bread-baking into a family activity. It keeps the kids entertained and gives you loaves for the week.
Troubleshooting
- Too dense? Make sure your yeast was active and your dough had enough time to rise.
- Bread didn’t rise? Check your water temperature. If it’s too hot, it can kill the yeast. Too cold, and the yeast won’t activate.
- Crust too hard? Brush melted butter on top right after baking to soften it.
Don’t get discouraged if your first loaf isn’t perfect. Bread baking is a skill you improve with practice, and even an imperfect loaf is still delicious.


.jpg)


